
Zing Music Integration
Easy Installation Guide for Home Assistant
Thank You!
Thank you for purchasing the Zing Music integration. Let's get you set up!
Click Here to Download Integration FilesThe download link was included in your purchase email
Download and Extract Files
Click the download button above to get your integration files, then extract the ZIP file on your computer.
Checklist:
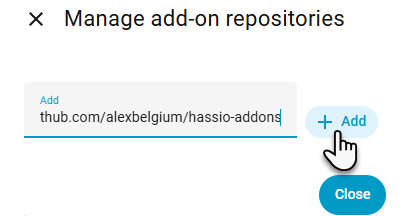
Install File Browser Add-on
To upload files to Home Assistant, we'll use the File Browser add-on. Click the button below to add it automatically:

After clicking the button:
- Search for File Browser in the add-on store
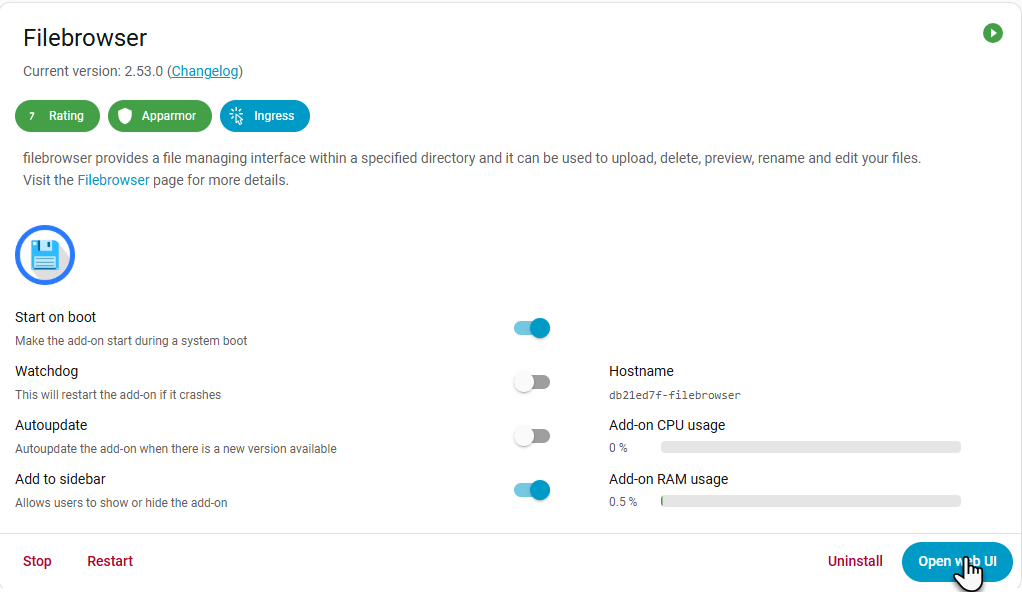
- Click Install
- Click Start
- Click Open Web UI

Checklist:
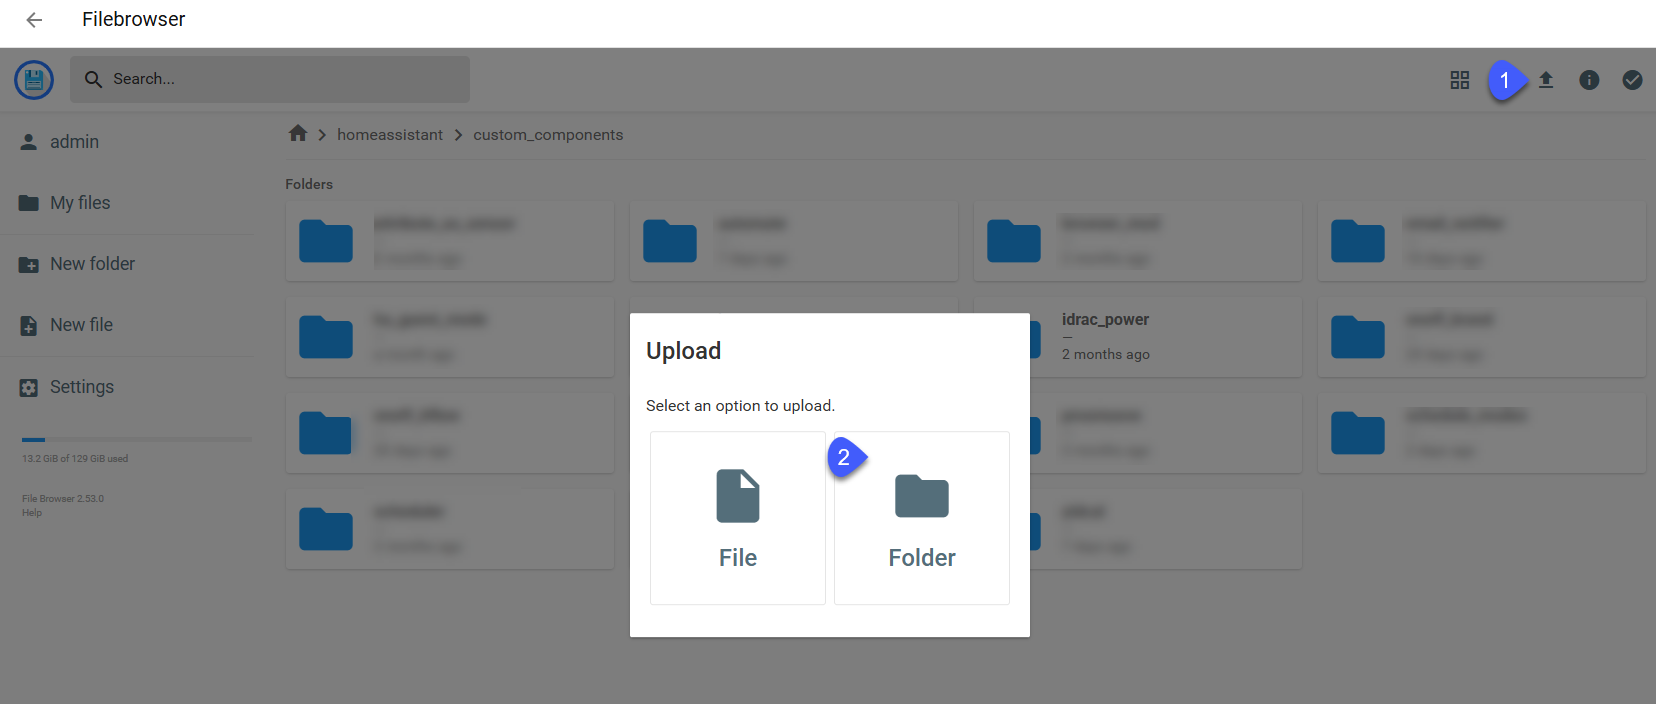
Upload Integration Files
Now let's upload the integration files to Home Assistant.
Upload Steps:
- Open the File Browser Web UI
- Look for a folder called
configorhomeassistant - Go into
custom_components- If this folder doesn't exist, create it
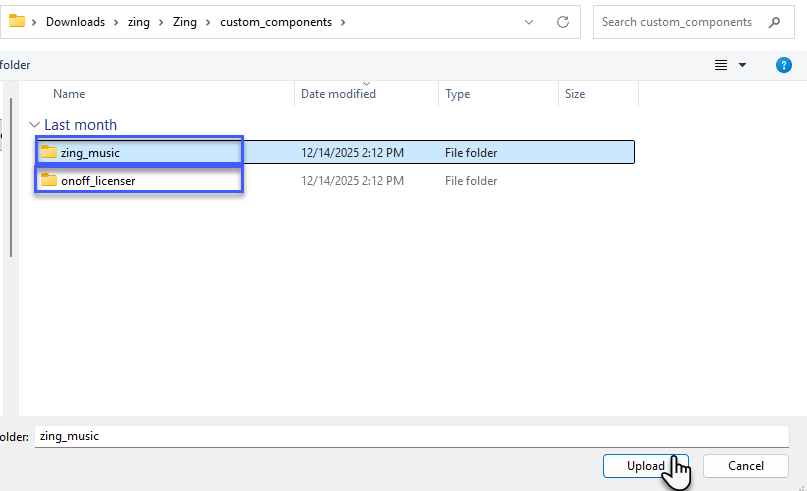
- Upload the zing_music folder here
- Upload the onoff_licenser folder here
- Go to Settings → System → Restart and restart Home Assistant
Checklist:
Add Your License
Before using Zing Music, you need to activate your license.
Setup Steps:
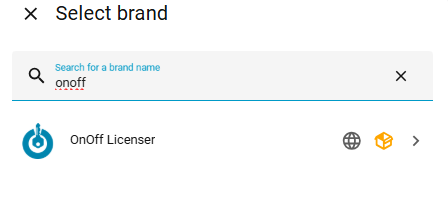
- Go to Settings → Devices & Services
- Click + Add Integration
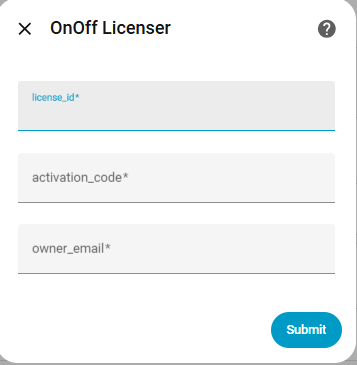
- Search for OnOff Licenser
- Enter your License ID (from your purchase email)
- Enter your Activation Code (from your purchase email)
- Enter your email address to receive integration updates
Checklist:
Add Zing Music Player
Now let's add your first Zing Music player!
Setup Steps:
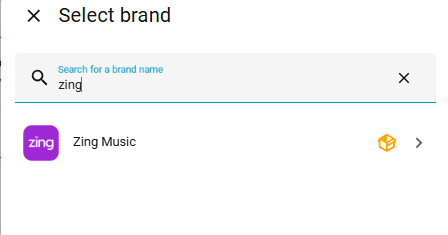
- Go to Settings → Devices & Services
- Click + Add Integration
- Search for Zing Music
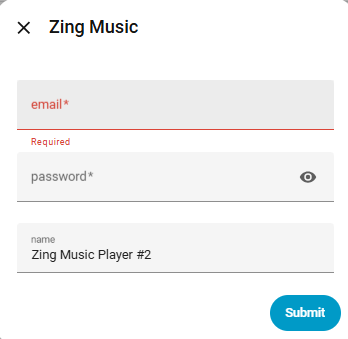
- Enter your Zing Music username
- Enter your Zing Music password
Using Apple or Google Sign-In?
If you normally sign in to Zing with Apple or Google, follow these steps:
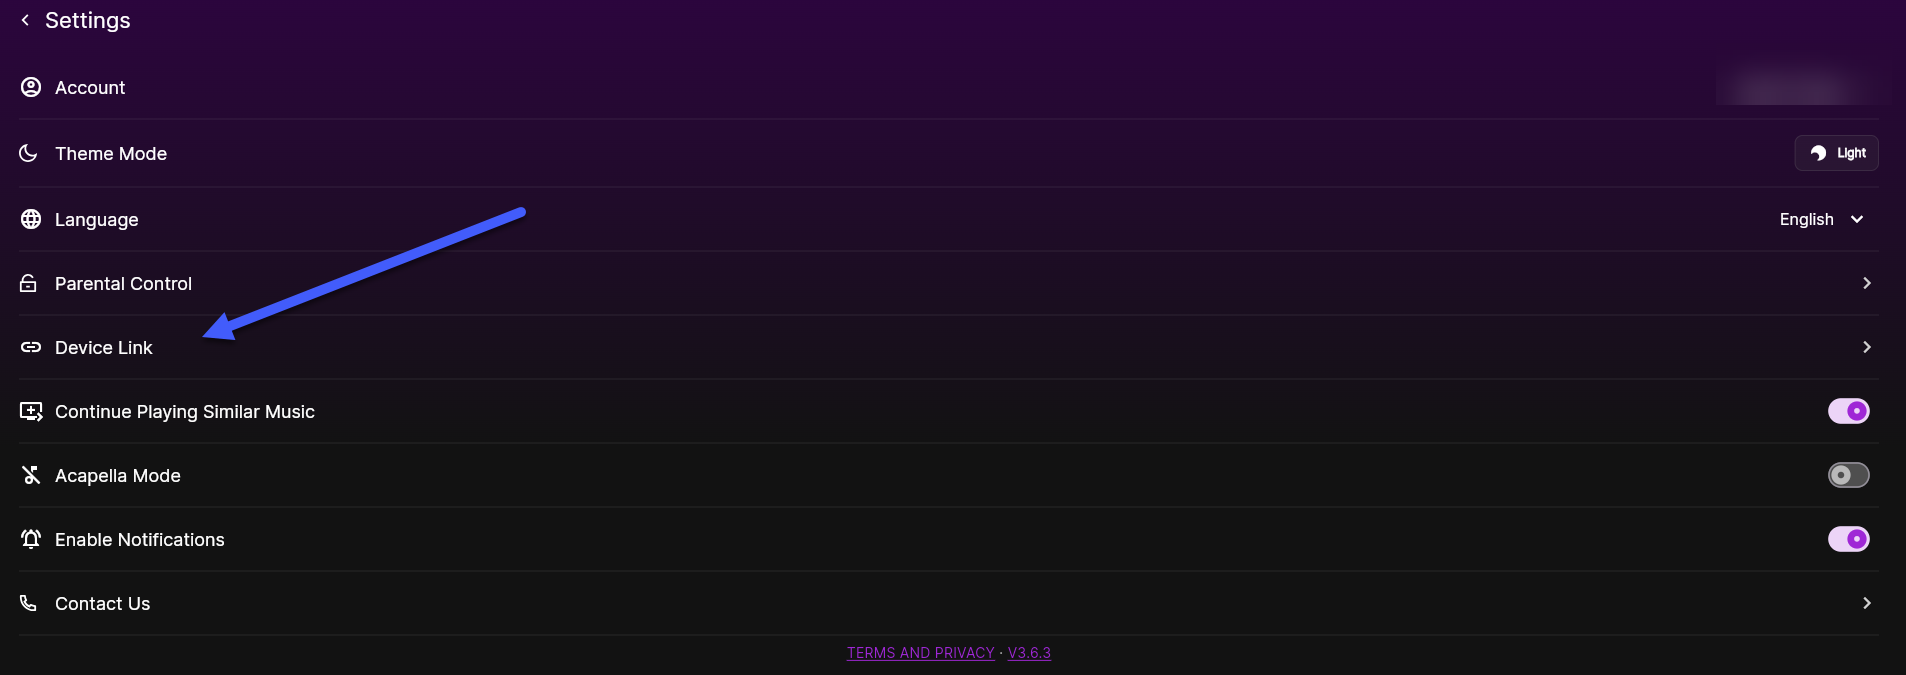
- Open the Zing Music app on your phone or browser
- Go to Account Profile → Settings → Device Link
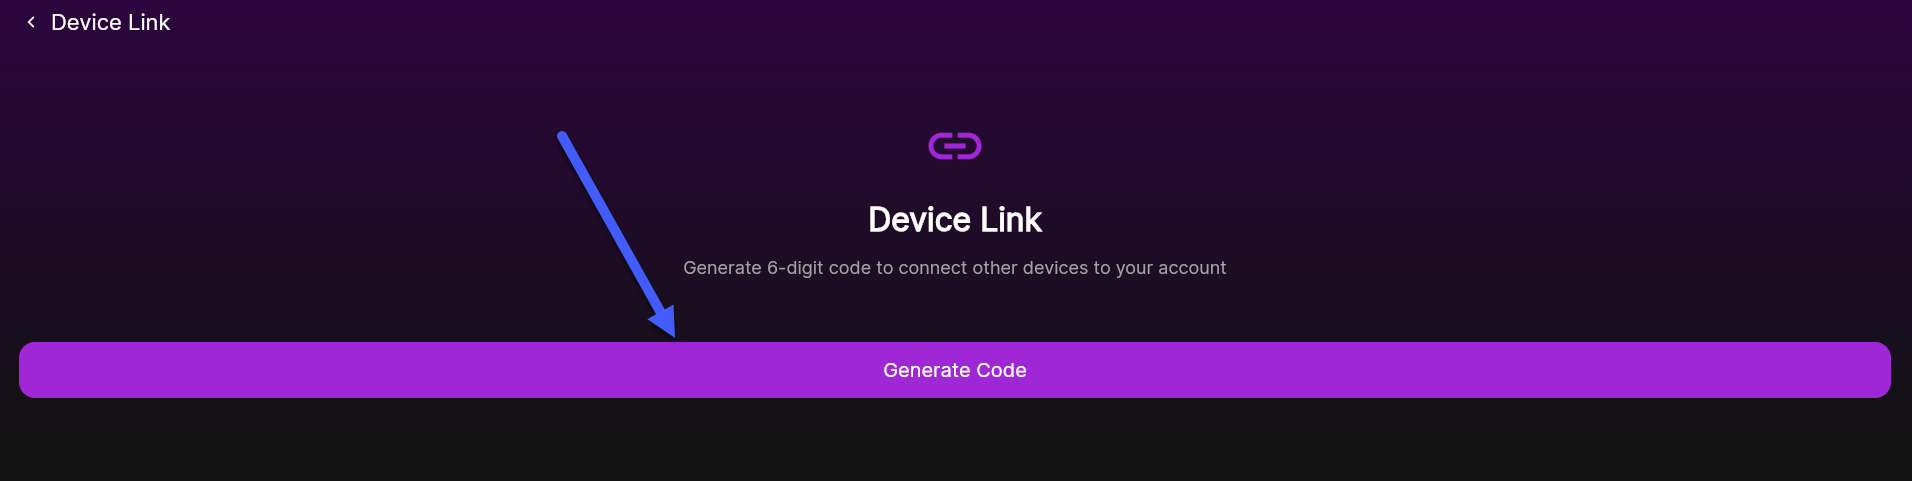
- Click Generate Code
- Use your username and the generated code as the password in Home Assistant
Name Your Player:
Give your player a name (like "Living Room Zing" or "Kitchen Music").
Checklist:
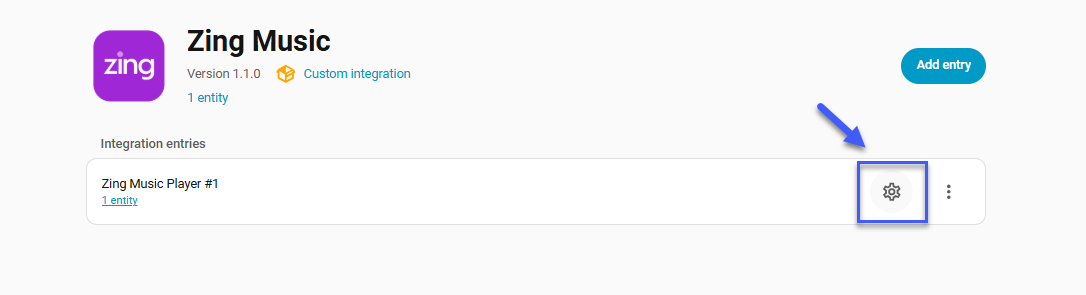
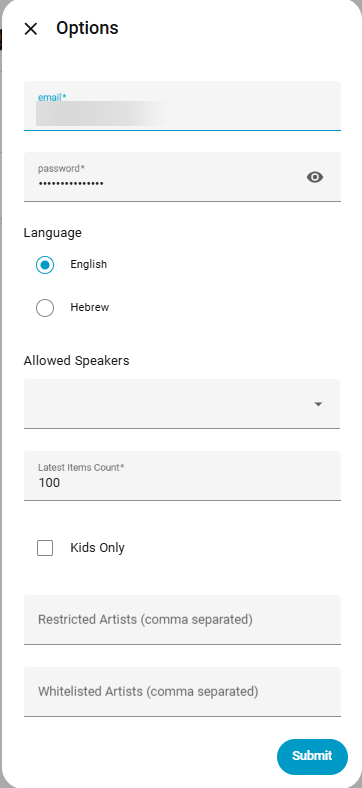
Configure Your Player
Let's customize how this player works.
1. Select Language
Choose English or Hebrew for this player.
2. Choose Your Speaker
Select which speaker this player will use. By default, all speakers will be available unless you start filtering. Each player can only 'play' to one speaker at a time.
3. Latest Items Count
Set how many recent items to show in each category. Default is 100.
4. Kids Only Mode (Optional)
Enable this to only show kid-friendly content on this player.
5. Restrict Artists (Optional)
Enter artist names (separated by commas) to hide them from this player.
6. Whitelist Artists (Optional)
Enter artist names (separated by commas) to ONLY show these artists on this player.
Checklist:
Install Zing Music Card
For a beautiful custom player interface, install the Zing Music Card through HACS.
Prerequisites:
You need HACS installed. If you don't have it, visit hacs.xyz first.
Installation Steps:
- Open HACS from the sidebar
- Click the three dots menu (⋮) in the top right
- Select Custom repositories
- Paste this URL:
- Select Dashboard as the category
- Click Add
- Search for Zing Music Card in HACS
- Click Download
- Click Reload when prompted
Checklist:
Configure Dashboard
Now let's add the Zing Music Card to your dashboard!
Add Card to Dashboard:
- Go to your Home Assistant dashboard
- Click Edit Dashboard (top right)
- Click + Add Card
- Search for Zing Music Card
- Click on it to add to your dashboard
Configure the Card:
In the card configuration, you'll need to select your Zing Music player. The YAML configuration looks like this:
entity_id: media_player.zing_music_player
For entity_id, select the Zing Music player you created earlier from the dropdown.